Payment notifications
Payment notifications allow you to send individual payment requests to your customers' email addresses.
Overview
Payment notifications allow you to request payment for a specific amount from a customer into your Viva business account. The customer receives the payment notification in their email inbox. Clicking to pay brings them to a Viva payment page. After they complete the payment, that’s it – you’re both notified!
- Support for pre-authorizations
- The option to create payment links that never expire
- The option to accept multiple payments
- The ability to allow the customer to indicate the amount to pay
Supported payment methods
Payment notifications support a wide variety of payment methods, including:
- Cards (Visa, Mastercard, American Express, Maestro, Bancontact, JCB, Discover & Diners Club)
- Digital wallets (Apple Pay, Google Pay, Samsung Pay, PayPal, PayPal Pay Later, Viva Wallet & MobilePay Online)
- Local payment methods (BANCOMAT Pay, Bancontact QR, BitPay, BLIK, EPS, iDEAL, IRIS, Klarna, MULTIBANCO, MB WAY, P24, PayU, Swish, tbi bank, Trustly, WeChat Pay, BlueCode & Satispay)
- Direct Debit & other payment methods (SEPA Direct Debit, Pay By Bank, Cash (Viva Spot) & e-banking (ΔΙΑΣ/DIAS))
 |
 |
 |
 |
 |
 |
 |
 |
 |
 |
 |
 |
 |
 |
 |
 |
 |
 |
 |
 |
 |
 | ||
 |
 |
 |
 |
 |
 |
 |
 |
 |
 |
||
 |
 |
Getting started
To add a new payment notification:
- Visit register and click on Login.
The Sign in to your account page is displayed. - Enter your mobile number and password and click on the Sign in button.
The Viva account landing page is displayed. - Click on the Select button for the account you wish to view.
Your account dashboard is displayed. - Click on the Request money tab:

- Click on the New Notification button:

The New Payment Notification page is displayed:

Complete the mandatory fields:
- Your reference – to help you identify the payment.
- Amount – enter amount greater than 30¢/30p.
- A short payment description - the description to display to the customer. Please note: you can also copy and paste emojis into this field if desired 😃
- Customer Name
- Customer e-mail
- Source – select ‘Default’ unless you have set up a separate payment source for this payment channel.
- Repeat - this toggle dictates whether repeat (recurring) payments are allowed after the initial payment notification has been paid.
Click on the Send Notification button.
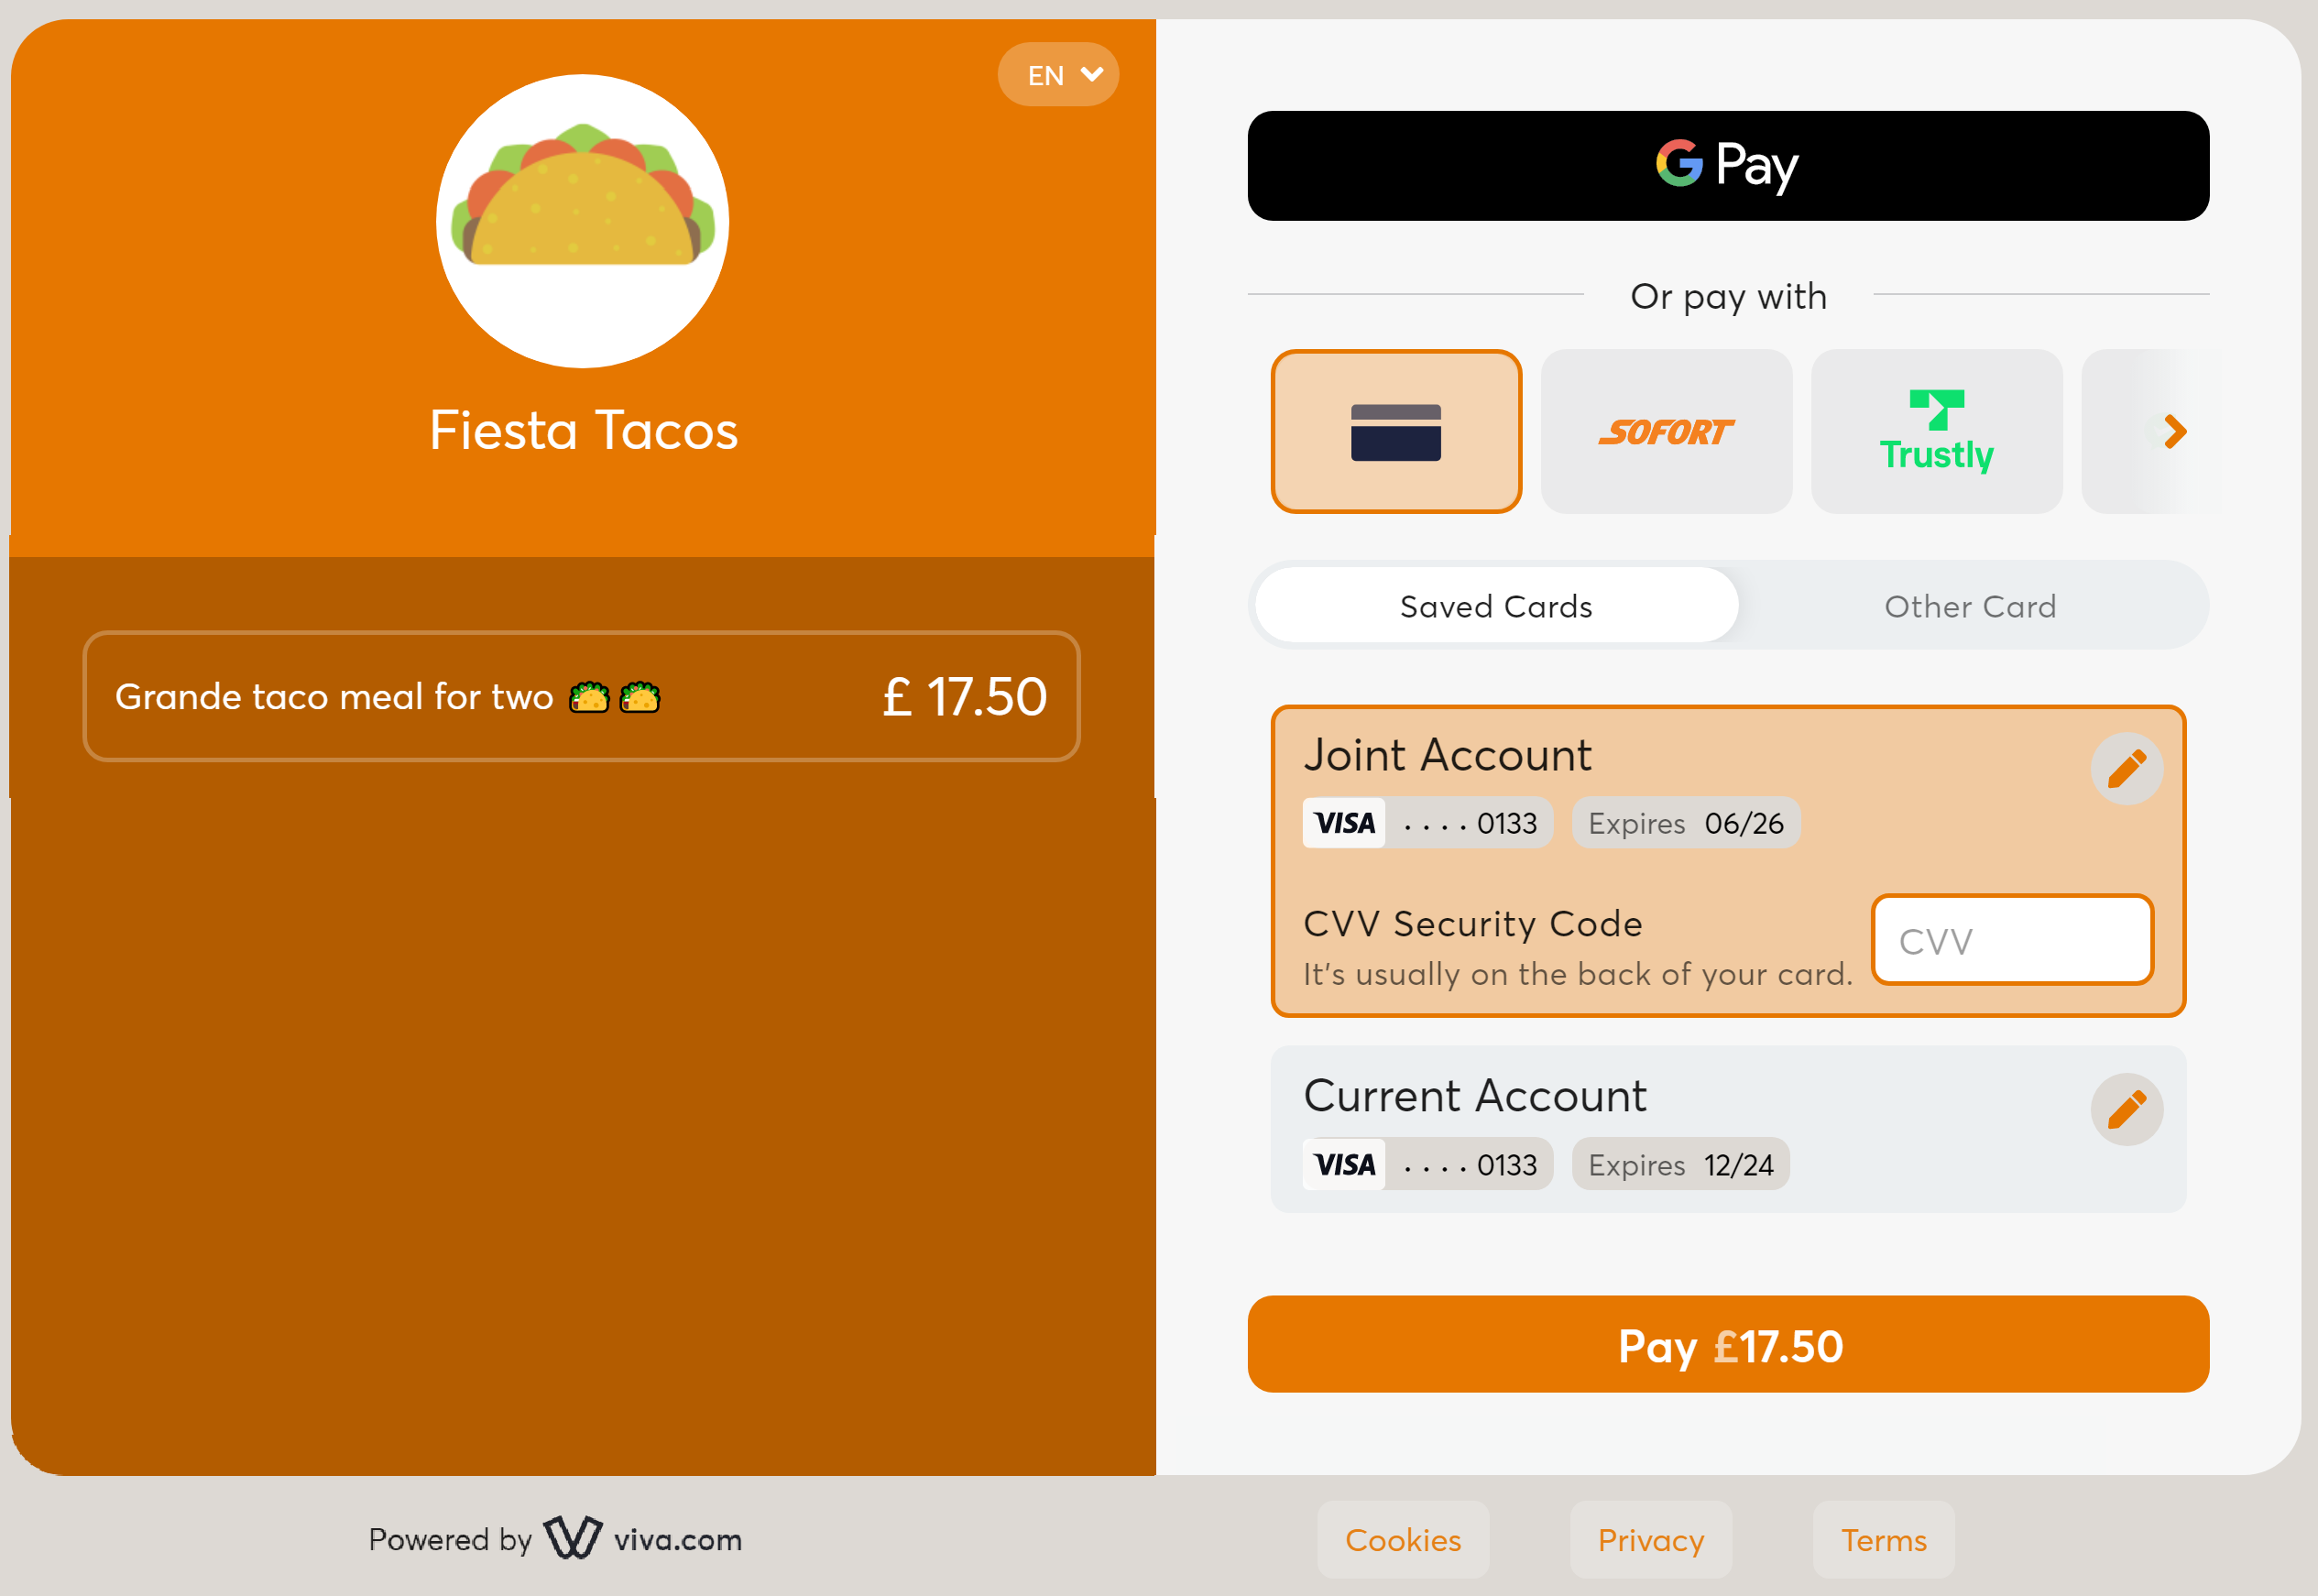
The payment notification will be sent to the customer’s email address. Once they click on the Payment button in the email, the Smart Checkout payment page will open in a browser:
Styling & design
Add your brand logo
We would highly recommend you show your company logo on your payment notification pages in order to increase customer recognition and trust, thus improving conversion. You can insert your company logo while creating a payment source.
You can also change or update this logo at any time, for any given payment source. To do this, please see our adding your brand logo tutorial for a step-by-step guide.
Add your brand color
You can also add your preferred brand color to your payment notification pages in the form of a URL parameter. Please see the specify brand color section of our Smart Checkout Integration guide for further information (when opening a payment notification, customers are directed to a Smart Checkout page to complete their payment).
"paymentNotification": true API parameter, as these methods send the payment notification automatically
Create a repeat payment
By enabling repeat payments, once the customer has paid an initial payment notification, you are then able to repeat the charge at any time in the future without sending your customer a new notification.
Enable repeat payments
To enable repeat (recurring) payments for a given payment notification, simply activate the Repeat toggle when creating the payment notification.
Create a new payment from the initial payment
To create a new payment, there are a few simple steps:
Once you have received payment, it will show under Sales > Sales transactions in your Viva account
Simply click on the Repeat button against the payment in question:

You will then see a pop-up allowing you to choose the amount to charge and a reference to help you identify the payment:

Once you have filled out these fields, simply click the OK button to make the payment
Get Support
If you would like to integrate with Viva, or if you have any queries about our products and solutions, please see our Contact & Support page to see how we can help!