Integrations
Information on the integrations sub-menu of the Viva Terminal app.
Overview
This article outlines the options found within the ‘Integrations’ sub-menu of the Viva Terminal app. These settings are used to configure third-party integrations, as well as Viva’s native Peer to Peer integration.
Integrations
The currently available integrations are:
VIVA.COM x ORACLE
Viva.com has implemented Oracle OPI (Oracle Payment Interface) to enable seamless integration with merchants leveraging Oracle Suites. This powerful middleware connects the Viva.com Terminal App to Oracle Suites, delivering exceptional payment processing capabilities. Please note that this is an Oracle-specific integration, not an inter-app integration.
Card terminals and devices compatible with the Viva.com Terminal App are eligible for Oracle OPI integration.
For more information, please visit our ORACLE OPI integration page.
IAPR (AADE)
AADE is a mandatory communication protocol in Greece for integrations between cashier systems and card terminals.
More information on the AADE protocol can be found in our AADE documentation.
Enabling the IAPR (AADE) protocol
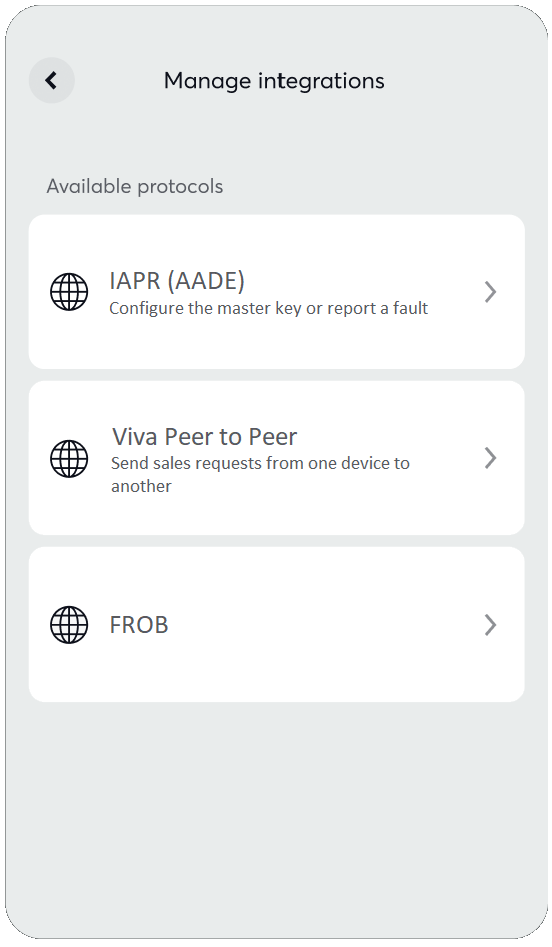
First, navigate to More > Integrations
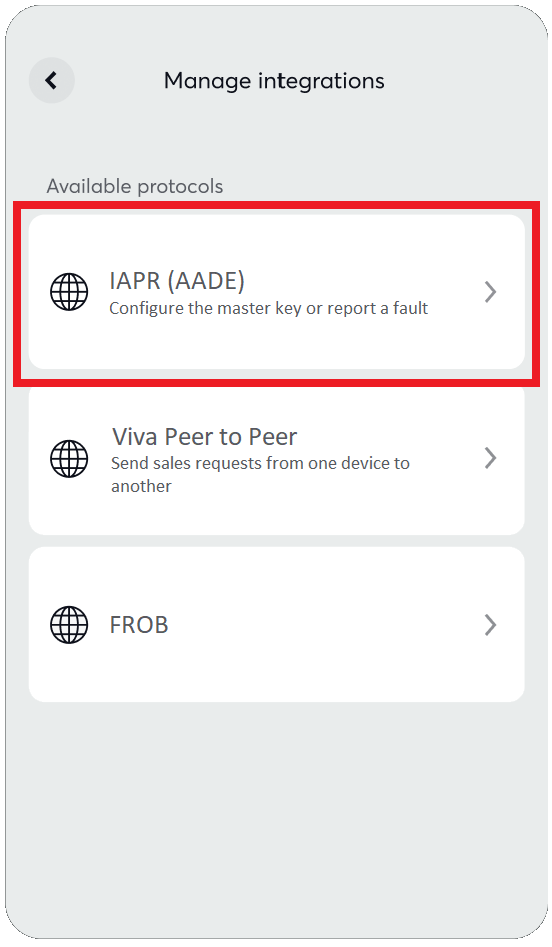
From here, select IAPR (AADE) from the list of integration options:
Then, use the Enable IAPR (AADE) toggle at the top of the screen to turn on the functionality
You will be presented with options for connecting either via WiFi or LAN (local internet) or via data, along with IP Address, Port and Server status information
If selecting the latter option (data), you will additionally be asked to enter the Cash register ID of your device
Once connected, you will see the additional configuration options Encryption settings (allowing you to enter your Master key and Session key) and Report issue (allowing you to report either a Cash register issue or a Connectivity issue)
Viva Peer to Peer
Viva’s Peer to Peer protocol (also know as ‘Local Terminal API’) allows calls to be made between ECR systems and card terminal devices on the same network.
More information on the Peer to Peer protocol can be found in our overview and API documentation.
Enabling the Viva Peer to Peer protocol
First, navigate to More > Integrations
From here, select Viva Peer to Peer from the list of integration options:

Then, use the Enable Peer to Peer toggle at the top of the screen to turn on the functionality
From here, you can select the operation mode (such as Use device as PIN pad) and set a PIN of your choosing
Next, review the Server information (Device ID, Device IP address and Port) you will need to connect your cashier device to the Viva Terminal app
The Viva Terminal app will automatically be set to ECR mode to await a Peer to Peer sale request
FROB
FROB (also sometimes referred to as ‘MDB’) is a protocol commonly used for communication between payment terminals and vending machines (amongst other devices).
It is especially relevant in Poland, following regulations by the Polish government aiming to allow communication between any fiscal cash register available on the Polish market and any payment terminal introduced in the country.
More information on the FROB protocol can be found in our FROB protocol documentation.
Enabling the FROB protocol
First, navigate to More > Integrations
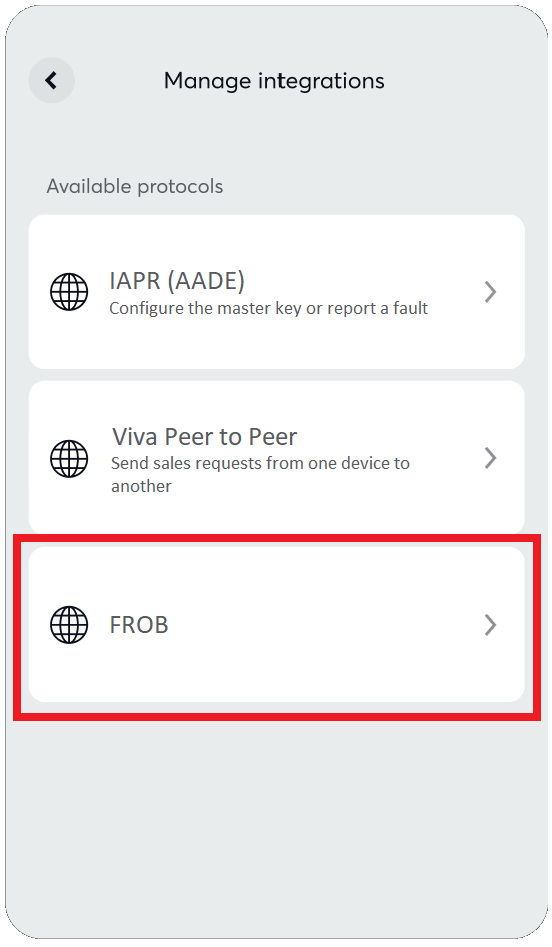
From here, select FROB from the list of integration options:
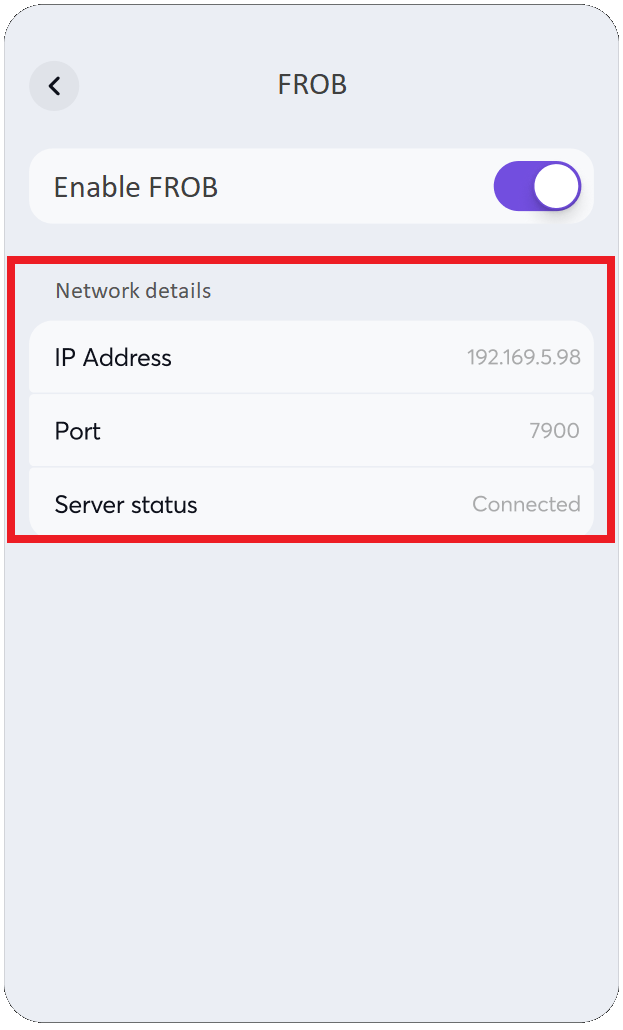
Then, use the Enable FROB toggle at the top of the screen to turn on the functionality:
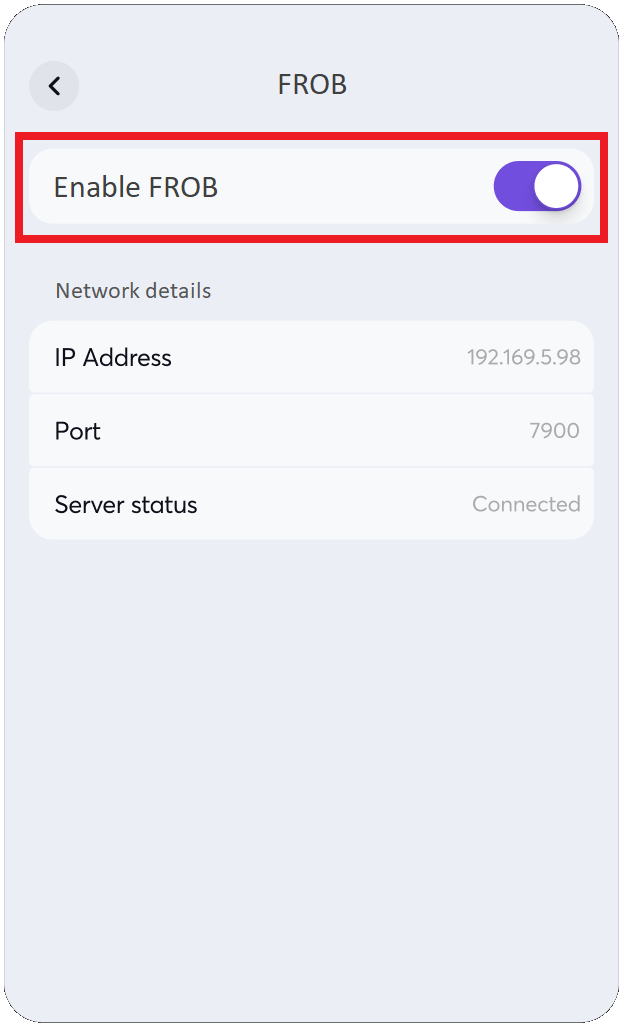
Under Network details, you will see the relevant communication details needed to configure your cash register or other device to connect to the Viva Terminal app (IP Address & Port), as well as Server status, which will confirm whether the FROB connection is active (‘Connected’) or inactive (‘Disconnected’):
Get Support
If you would like to integrate with Viva, or if you have any queries about our products and solutions, please see our Contact & Support page to see how we can help!