Create a recurring payment
How to create a recurring payment.
- Overview
- Before you start
- Step 1: Create payment order for recurring payment
- Step 2: Redirect customer to pay the payment order
- Step 3: Create a new payment from the initial payment
- Get Support
Overview
Applicable to our Smart Checkout solution. The payment method should support recurring payments.
See here for an explanation of how these can be utilised to collect payments on the basis of a subscription model.
The below example illustrates a simple use case for creating a recurring payment.
To start with, you would need to create a payment order, using the allowRecurring parameter (set to true). Following on from that, the customer would need to successfully complete the payment of the above payment order. You can then, at a later point in time, create a new payment against the customer, charging directly the payment method they have used in the initial payment, without any customer interaction. To create this new payment, you would need to create a transaction using the transaction ID of the initial payment, and provide additional information such as the amount to be charged (either the same as for the initial payment or different) and the description to appear on the receipt the customer receives.
The key point is that, following the first successful payment, you can perform subsequent new payments, at any moment in the future, for any amount (either the same as for the initial payment or different), by simply creating a new transaction (recurring payment) using the transaction ID of the initial payment.
Keep in mind it is your responsibility to have the customer’s consent to perform recurring payments!
See also the full-length PHP code sample for creating a recurring payment.
Both authentication methods basic auth and OAuth2 auth are used additionally to the below API Calls
Before you start
You need to enable recurring payments in the Viva banking app:
Log in to Viva, demo or live , and select the required account.
Go to Settings > API Access.
Select the Allow recurring payments and pre-auth captures via API checkbox as shown below:

The new setting is saved automatically.
Step 1: Create payment order for recurring payment
Initially, you would need to Create Payment Order , using the allowRecurring parameter (set to true).
Note that for this API Call, you should use the OAuth2 auth method for your authentication.
/checkout/v2/orders
Request example
| Environment | URL |
|---|---|
| Production | https://api.vivapayments.com/checkout/v2/orders |
| Demo | https://demo-api.vivapayments.com/checkout/v2/orders |
curl '[Environment URL]'
-H 'Authorization: Bearer [access token]'
-H 'Content-Type: application/json'
-d '{
  "amount": 1000,
  "customerTrns": "Short description of items/services purchased to display to your customer",
  "customer": {
    "email": "Customer Email",
    "fullName": "Customer Full Name",
    "phone": "Customer Phone",
    "countryCode": "GB",
    "requestLang": "en-GB"
  },
  "paymentTimeout": 3600,
  "allowRecurring": "true",
  "sourceCode": "Default",
  "merchantTrns": "This is a short description that helps you uniquely identify the transaction",
  "tags": [
    "tag 1",
    "tag 2"
  ]
}'
<?php
$curl = curl_init();
curl_setopt_array($curl, array(
CURLOPT_URL => '[Environment URL]',
CURLOPT_RETURNTRANSFER => true,
CURLOPT_ENCODING => '',
CURLOPT_MAXREDIRS => 10,
CURLOPT_TIMEOUT => 0,
CURLOPT_FOLLOWLOCATION => true,
CURLOPT_HTTP_VERSION => CURL_HTTP_VERSION_1_1,
CURLOPT_CUSTOMREQUEST => 'POST',
CURLOPT_POSTFIELDS =>'{
"amount": 100,
"allowRecurring": "true"
}',
CURLOPT_HTTPHEADER => array(
'Authorization: Bearer [access token]',
'Content-Type: application/json'
),
));
$response = curl_exec($curl);
curl_close($curl);
echo $response;
Response example
{
    "orderCode": 8615308677872601
}
Step 2: Redirect customer to pay the payment order
Next, the customer would need to successfully complete the payment of the created payment order, and thus also provide indirectly his consent for recurring payments.
Redirect customer to the below URL replacing [OrderCode] with the order code from Step 1:
| Environment | URL |
|---|---|
| Production | https://www.vivapayments.com/web/checkout?ref={OrderCode}&color={ColorCode} |
| Demo | https://demo.vivapayments.com/web/checkout?ref={OrderCode}&color={ColorCode} |
Payment page example
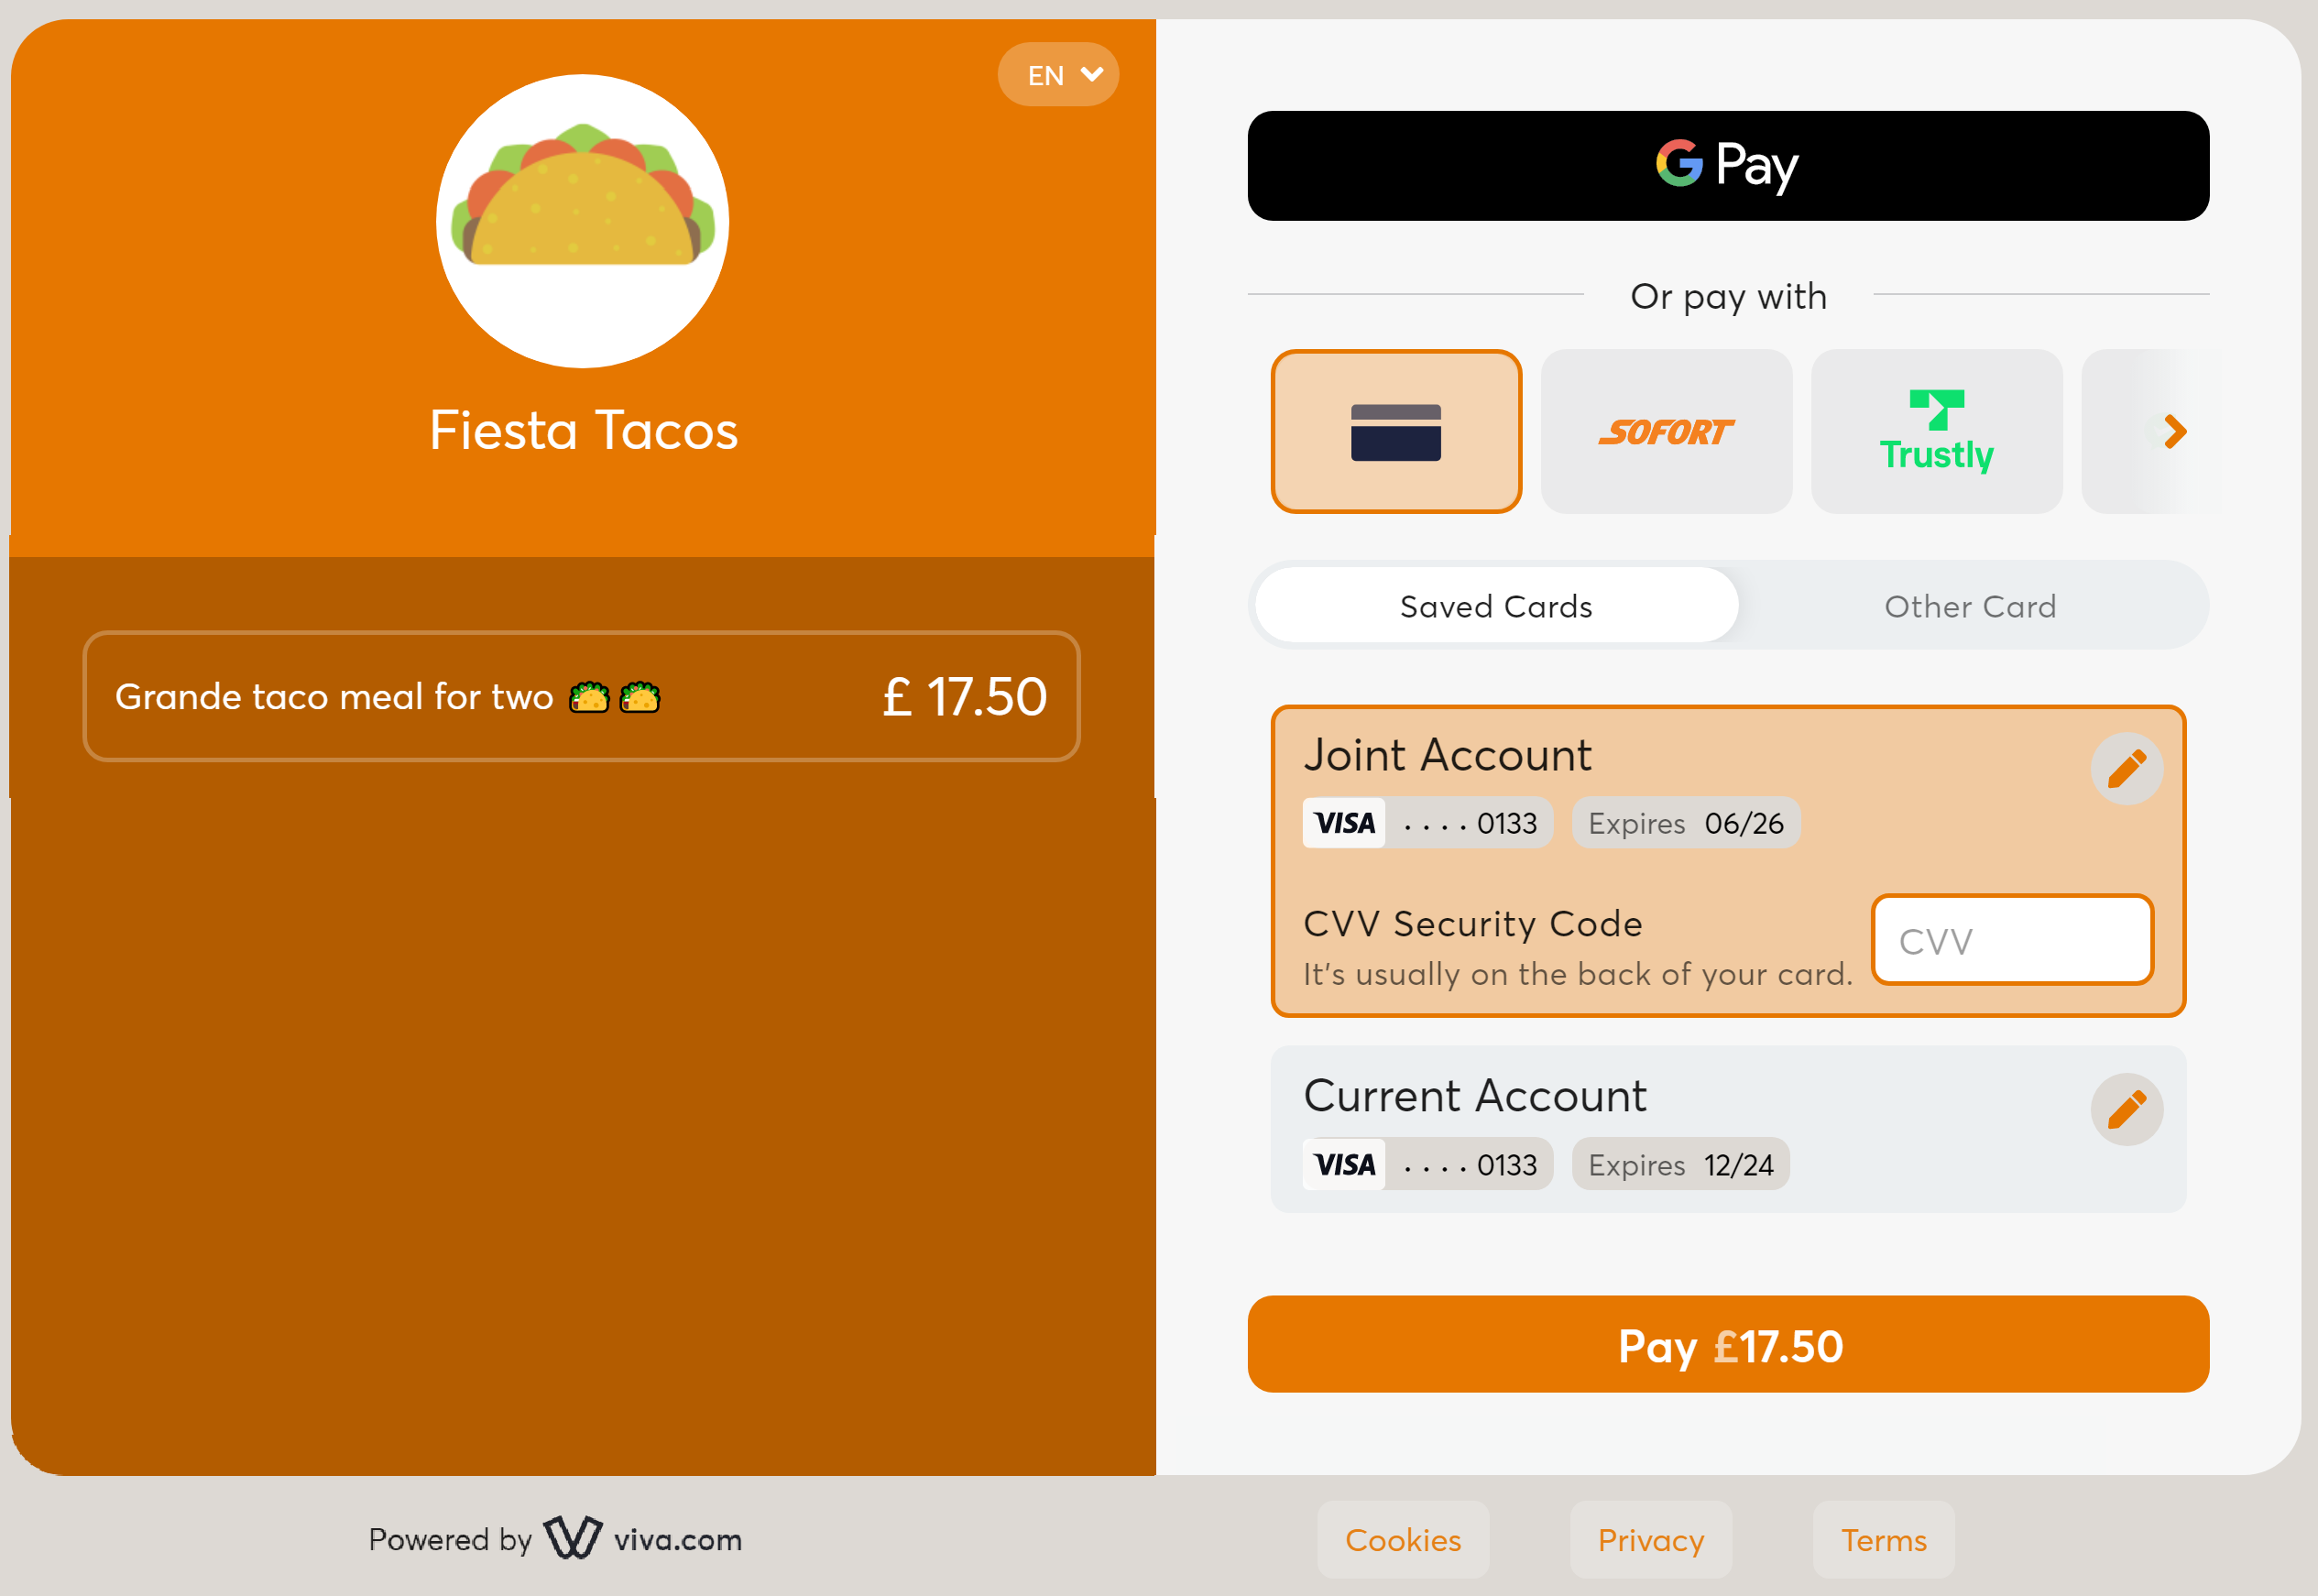
Smart Checkout payment page example:

After the customer makes the payment on Smart Checkout, the customer is redirected back to your website. If the payment has been successful or is pending, the customer is redirected to the Success URL, otherwise (i.e. if the payment has been unsuccessful) they are redirected to your Failure URL.
Step 3: Create a new payment from the initial payment
This can be done in one of two ways:
Even if one of the subsequent payments fails (e.g. if the third payment fails), you can retry at any time, and you can continue to make subsequent payments going forward (i.e. you can make a fourth, fifth and so on payment)
Via the API
You can create a new transaction(recurring payment) against the customer, charging automatically the payment method they have used for the initial payment, without any customer interaction. To create this new payment(recurring payment), you would need to create a payment using the transaction ID of the initial payment, and provide additional information such as the amount to be charged(either the same as for the initial payment or different) and the description to appear on the receipt the customer receives.
Please note that you need to set the sourceCode to be the same with the initial transaction, if you want to charge the payments in the same source. Otherwise, if you do not set this parameter, the recurring payment will be charged on the default source.
You get the initial transaction ID as a query string parameter from the URL displayed in the browser address bar after execution of the payment(when we redirect the customer back to your website after conclusion of Step 2):

In the below request you can see the initial transaction ID as a path parameter. The response then returns an additional transaction ID for the new transaction (recurring payment).
Request example
Note that for this API Call, you should use the basic auth method for your authentication.
/api/transactions/{id}
| Environment | URL |
|---|---|
| Production | https://www.vivapayments.com/api/transactions/{transactionId} |
| Demo | https://demo.vivapayments.com/api/transactions/{transactionId} |
curl '[Environment URL]'
-H 'Authorization: Basic [Base64-encoded Merchant ID and API key]'
-H 'Content-Type: application/json'
-d '{
  "amount": 100,
  "customerTrns": "Short description of items/services purchased to display to your customer",
  "currencyCode": "978"
}'
<?php
$curl = curl_init();
curl_setopt_array($curl, array(
CURLOPT_URL => '[Environment URL]',
CURLOPT_RETURNTRANSFER => true,
CURLOPT_MAXREDIRS => 10,
CURLOPT_TIMEOUT => 30,
CURLOPT_FOLLOWLOCATION => true,
CURLOPT_HTTP_VERSION => CURL_HTTP_VERSION_1_1,
CURLOPT_CUSTOMREQUEST => 'POST',
CURLOPT_POSTFIELDS =>'{
"amount": 100,
"customerTrns": "Short description of items/services purchased to display to your customer",
"currencyCode": "978"
}\'',
CURLOPT_HTTPHEADER => array(
'Authorization: Basic [Base64-encoded Merchant ID and API key]',
'Content-Type: application/json'
),
));
$response = curl_exec($curl);
curl_close($curl);
echo $response;
Response example
A successful payment is identified by “statusId”:”F” (finished or finalised) in the response as shown in the example below.
{
    "Emv": null,
    "Amount": 1.00,
    "StatusId": "F",
    "RedirectUrl": null,
    "CurrencyCode": "826",
    "TransactionId": "14c59e93-f8e4-4f5c-8a63-60ae8f8807d1",
    "ReferenceNumber": 838982,
    "AuthorizationId": "838982",
    "RetrievalReferenceNumber": "109012838982",
    "Loyalty": null,
    "ThreeDSecureStatusId": 2,
    "ErrorCode": 0,
    "ErrorText": null,
    "TimeStamp": "2021-03-31T15:52:27.2029634+03:00",
    "CorrelationId": null,
    "EventId": 0,
    "Success": true
}
Via the banking app
To create a new payment:
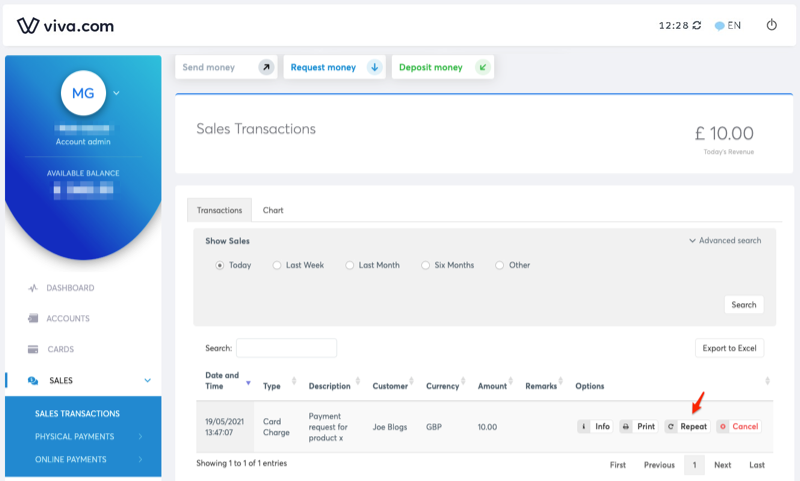
Once you have received payment, it will show under Sales > Sales transactions in your Viva account.
Simply click on the Repeat button against the payment:

Get Support
If you would like to integrate with Viva, or if you have any queries about our products and solutions, please see our Contact & Support page to see how we can help!
